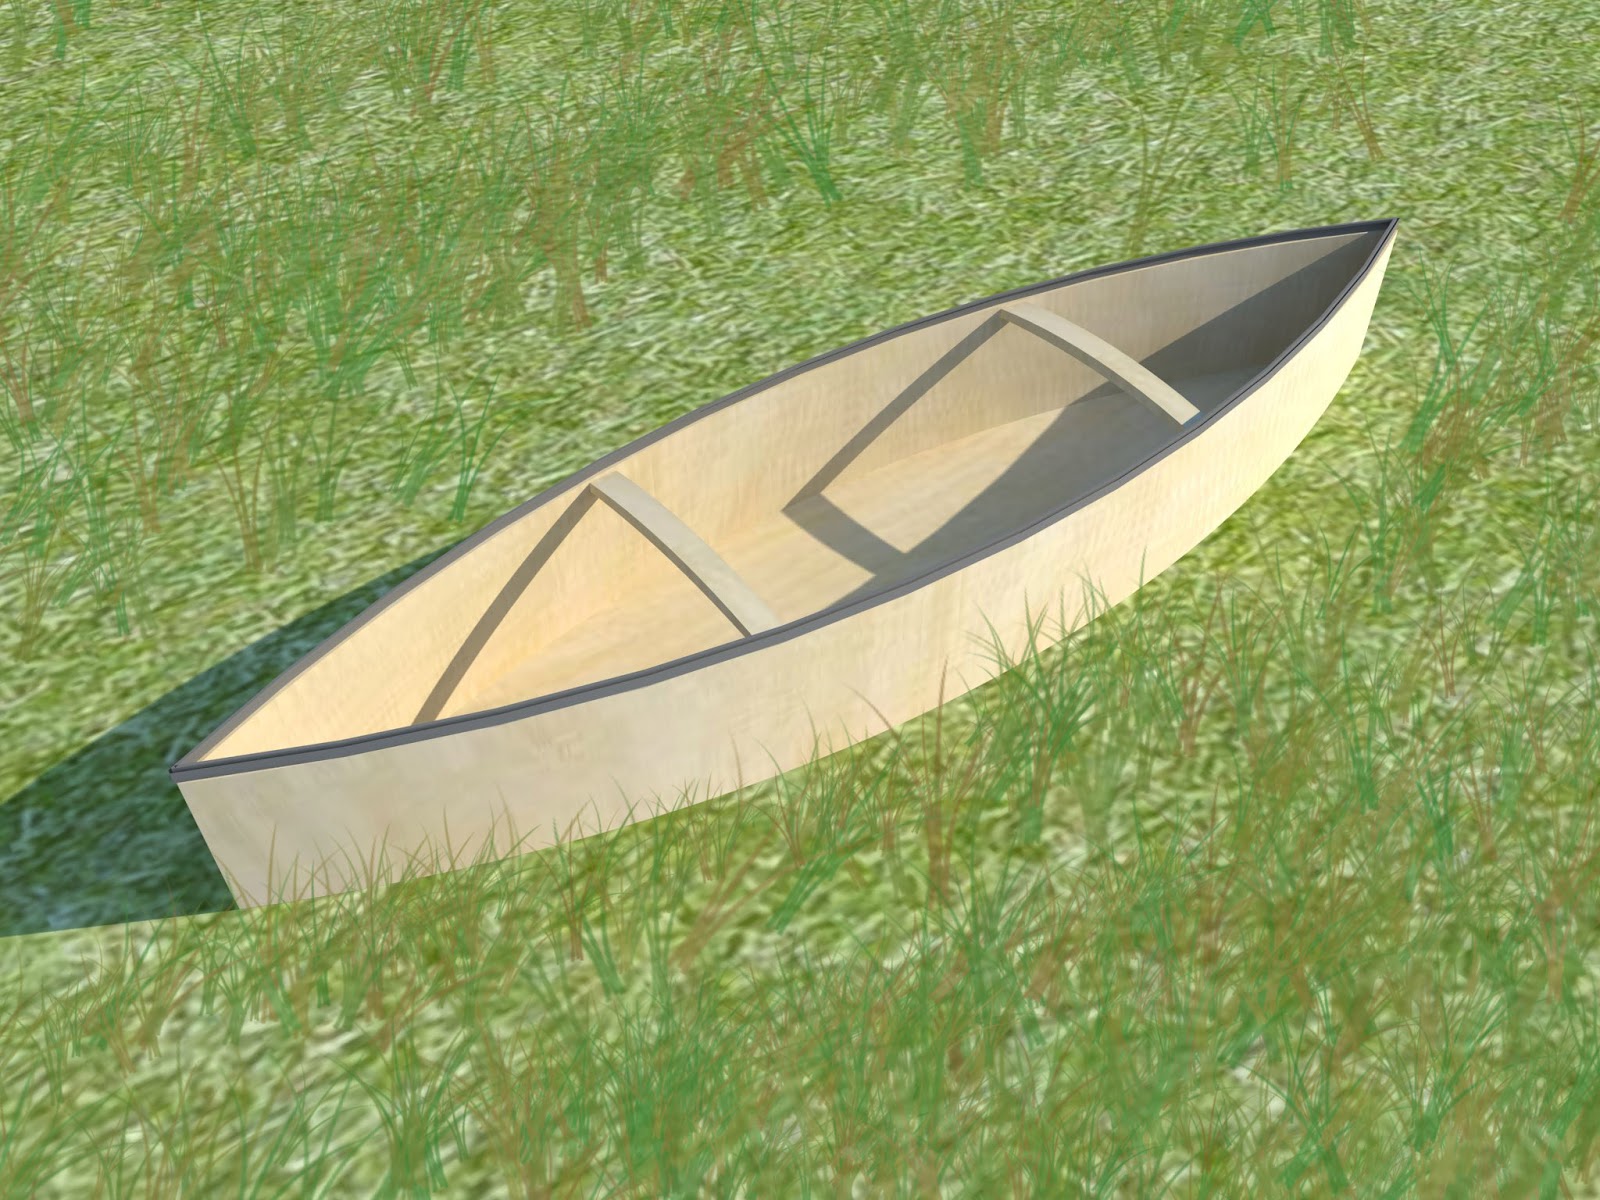
DIY Wooden Canoe Plans: How to Build a Canoe from Scratch
Building a canoe from scratch is a challenging but rewarding project. Not only will you have a beautiful and unique vessel to paddle, but you'll also have the satisfaction of creating something with your own hands. This comprehensive guide will walk you through the entire process, from choosing the right plans to finishing touches, ensuring you have a successful and enjoyable experience.
Choosing the Right Canoe Plans
The first step is choosing the right plans. Many excellent canoe plans are available online and in books. Consider the following factors:
- Length and width: Determine the size and capacity you need. A shorter, wider canoe will be more stable but less efficient for long-distance paddling. A longer, narrower canoe will be faster but less stable.
- Material: Canoe plans typically specify the wood type and thickness. Popular choices include cedar, spruce, and oak. Consider the availability and cost of materials in your area.
- Construction method: Some plans utilize traditional techniques like stitch-and-glue, while others employ modern methods like strip planking. Choose a method that matches your skill level and desired aesthetic.
- Detailed instructions: Make sure the plans include detailed instructions, drawings, and templates to guide you through the build process.
Once you've chosen your plans, gather the necessary tools and materials.
Gathering Tools and Materials
Building a canoe requires a variety of tools and materials. Here's a comprehensive list:
- Wood: Purchase the specified wood according to your chosen plans. Ensure the wood is dry and free of defects.
- Epoxy resin and hardener: Epoxy is used for bonding and sealing the wood. Choose a marine-grade epoxy for durability.
- Fiberglass cloth: Fiberglass cloth adds strength and water resistance to the canoe. Choose a weight appropriate for your chosen plans.
- Woodworking tools: You'll need basic woodworking tools like a saw, drill, router, and sander. Invest in quality tools for precise cuts and smooth finishes.
- Clamps and jigs: Clamps and jigs are essential for holding the wood in place during construction and shaping. Consider purchasing specialized jigs for specific tasks.
- Measuring tools: Use precise measuring tools like a tape measure, ruler, and protractor to ensure accuracy throughout the build.
- Safety gear: Always wear safety glasses, gloves, and dust masks when working with wood and epoxy.
Step-by-Step Construction Process
The exact construction process will vary depending on your chosen plans. However, the following steps provide a general overview:
1. Cut and Shape the Parts
Begin by cutting the wood according to the plans. Use your woodworking tools carefully to ensure precise cuts. Next, shape the parts using sanding, routing, or planing techniques, achieving the desired curves and profiles.
2. Assemble the Frames
Construct the canoe's frames according to the plans. Use epoxy and clamps to bond the wood, ensuring a strong and secure connection. The frames provide the shape and support for the canoe's hull.
3. Attach the Planking
Attach the planking to the frames, adhering to the plans for placement and overlap. Use epoxy and clamps to bond the planking securely. For stitch-and-glue methods, you'll stitch the planking together with wire before applying epoxy. For strip planking, you'll use epoxy to bond the strips of wood together.
4. Apply Epoxy and Fiberglass
Once the planking is attached, apply epoxy to the entire hull to seal the wood and create a watertight barrier. Allow the epoxy to cure according to manufacturer instructions. Next, apply layers of fiberglass cloth to the hull, saturating them with epoxy. This process provides extra strength and durability.
5. Finish the Canoe
After the epoxy and fiberglass have cured, sand the hull smooth and prepare it for finishing. You can apply paint, varnish, or other protective coatings to enhance the canoe's appearance and protect it from the elements.
Final Touches and Enjoyment
Once you've completed the construction process, add any finishing touches, such as seats, gunwales, and a carrying yoke. Then, it's time to launch your handmade canoe and enjoy the fruits of your labor. Paddle across tranquil lakes, explore winding rivers, or navigate open waters. Your wooden canoe will provide years of enjoyment and a sense of accomplishment.

0 comments:
Post a Comment