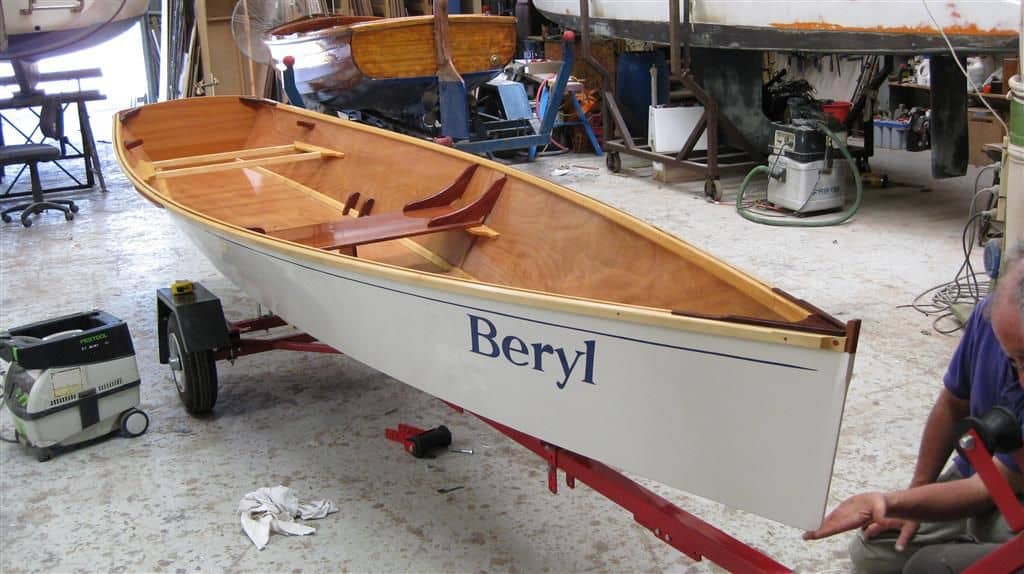
Step-by-Step Wooden Rowboat Plans: Build a Classic Watercraft
There's something undeniably romantic about a wooden rowboat gliding across the water. The gentle creak of the oars, the scent of wood and water, and the feeling of being connected to the natural worldâ€"it's a timeless experience. If you're looking to build something special, a wooden rowboat is a project that combines craftsmanship, practicality, and a deep sense of satisfaction.
Choosing Your Plans
The first step is to find the right rowboat plans. Consider the size, shape, and features you desire. Do you want a sleek racing shell or a classic, rounded hull? Will you be using it for fishing, leisurely paddling, or something else entirely? Research reputable boat plans providers like Glen-L Marine Designs or WoodenBoat magazine.
Gathering Materials
Once you've chosen your plans, gather your materials. You'll need:
- Wood: Marine-grade plywood, cedar, oak, or mahogany are common choices. Consult your plans for specific wood requirements.
- Epoxy resin and hardener: This will seal and strengthen the wood.
- Fiberglass cloth: Used for added strength and water resistance.
- Hardware: Oars, oarlocks, rowlocks, seats, and any additional hardware.
- Tools: A comprehensive set of woodworking tools, including a saw, planer, drill, sander, and clamps.
Building the Hull
The heart of the project lies in constructing the hull. Follow the plans meticulously, ensuring precise measurements and cuts. You'll be building the boat's frame, planking the hull, and then fairing the hull to create a smooth, water-resistant surface.
Frame Construction
The frame, often made from strong hardwoods like oak or cedar, provides the boat's shape and strength. Using your plans as a guide, carefully join the frame pieces with mortise and tenon joints or other suitable methods.
Planking
Once the frame is complete, you'll attach the plankingâ€"thin strips of wood that form the boat's hull. Using the plans as your blueprint, carefully fit the planks, securing them to the frame with epoxy and screws or nails.
Fairing
After planking, you'll smooth out the hull using a combination of sanding and fairing compound. This process ensures a smooth, hydrodynamic shape that minimizes water resistance.
Adding Finishing Touches
With the hull complete, it's time for the finishing touches. This includes:
- Glassing: Applying layers of fiberglass cloth and epoxy resin to further strengthen and seal the hull.
- Painting: Choosing a durable paint to protect the wood and give the boat a beautiful finish.
- Installing hardware: Attaching the oars, oarlocks, rowlocks, seats, and any other hardware.
Launching and Enjoying Your Creation
After the final touches are complete, the moment of truth arrives: launching your new rowboat! Be sure to do a thorough inspection before taking it out on the water. As you glide across the water, enjoy the feeling of accomplishment and the timeless beauty of your handcrafted masterpiece.


0 comments:
Post a Comment